
Merging multiple JPG files into one image makes them easier to share, organize, and store. Instead of managing several separate files, you can combine your JPG or JPEG images into a single high-quality image in just a few clicks. It’s a great solution for scanned documents, screenshots, product photos, reports, and photo collections.
This guide shows you how to merge JPG files into one image online without installing any software or creating an account.
Simply upload your images, arrange them in the right order, choose your preferred layout, and download the merged JPG in seconds. The process is fast, free, and works on Windows, Mac, Android, and iPhone.
Table of Contents
What Does It Mean to Merge JPG Files into One Image?
Merging JPG files into one image means combining multiple JPG or JPEG files into a single image. Instead of opening, sharing, or storing several separate files, you get one image that contains everything in the correct order. This makes your images easier to manage and keeps related files together.
For example, you can merge scanned document pages into one long image, combine multiple screenshots to show a complete process, or place product photos side by side for easy comparison. Many people also use a JPG merger to create simple photo collages or organize images before sharing them.
It’s also important to know the difference between merging images into a JPG and merging them into a PDF. A merged JPG remains an image file, making it ideal for use on websites, social media, in presentations, and in image-based documents. A PDF, on the other hand, creates a document with separate pages, which is better for printing or reading long documents.
How to Merge JPG Files into One Image Online
Merging JPG files online only takes a few clicks. Follow these simple steps to combine multiple images into one high-quality JPG.
Step 1: Open the Merge JPG tool by clicking: https://www.mergejpg.pro/
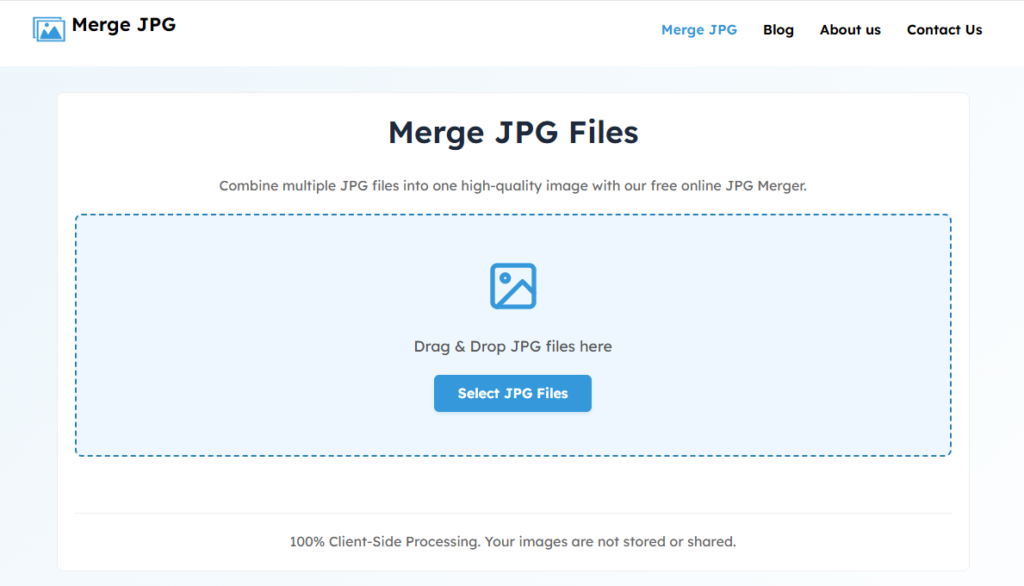
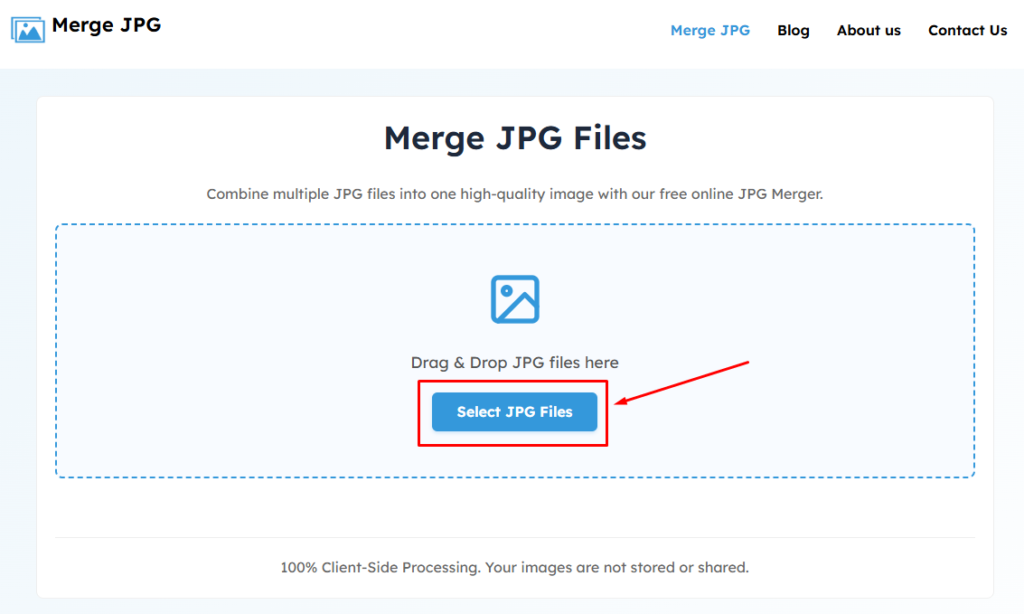
Step 2: Click “Select JPG Files” or drag and drop multiple JPG or JPEG files into the tool. You can upload several images at the same time, making the process quick and easy.
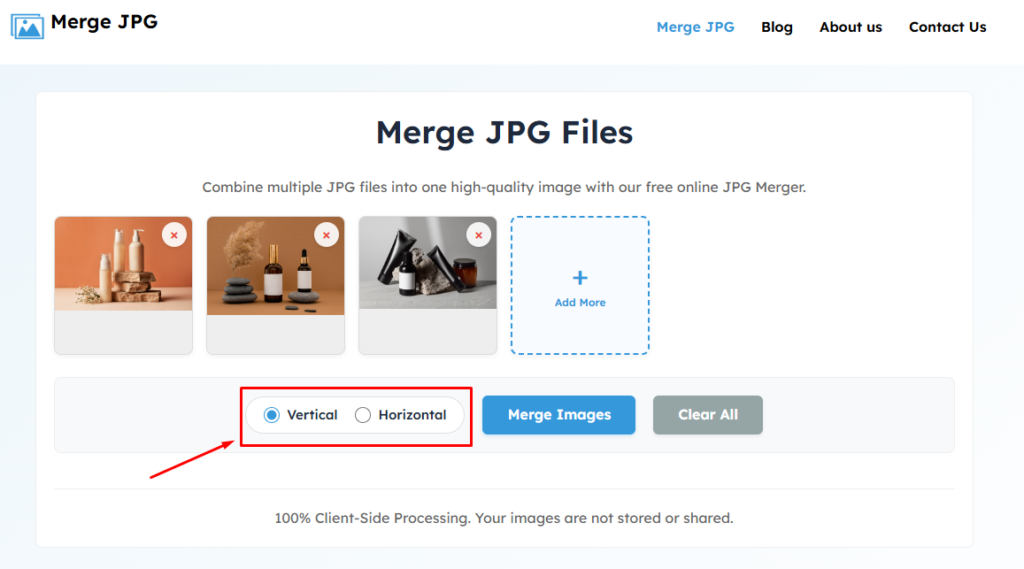
Step 3: Select how you want your images to appear in the final file. Choose Horizontal to place images side by side or Vertical to stack them from top to bottom.
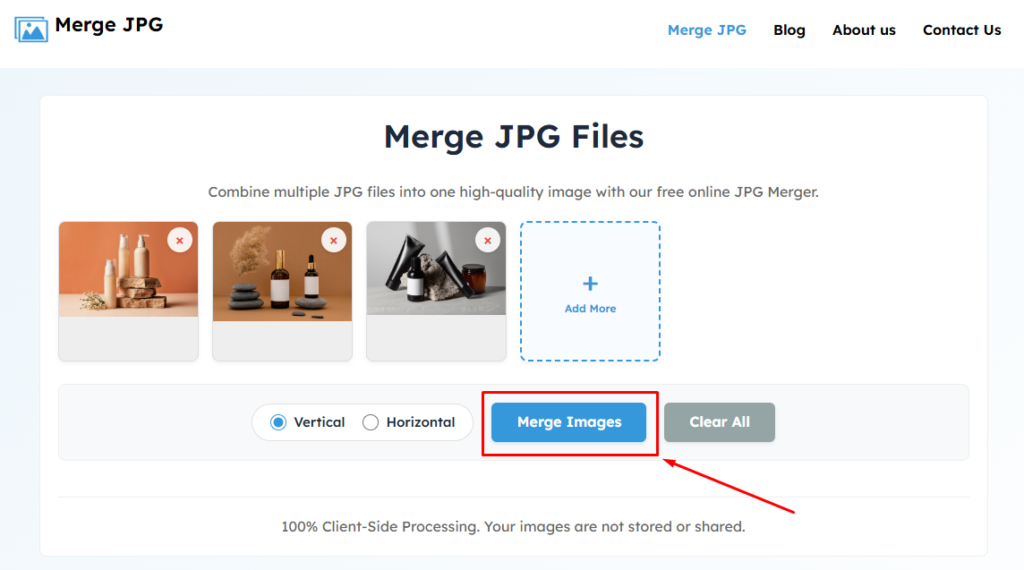
Step 4: Click the “Merge Images” button to combine your images into a single JPG. The tool will process your files in seconds while maintaining their quality.
Step 5: Review the merged image to make sure everything looks right. If you’re happy with the result, download the final JPG to your device and use it wherever you need.
Choose the Right Layout Before Merging
The layout you choose affects how your final image looks and how easy it is to read. Before merging your JPG files, think about how you plan to use the image. Most JPG merger tools offer two common layouts: Vertical and Horizontal.
Vertical Merge
A vertical merge places one image below another, creating one long image. This layout is the best choice when your images need to be viewed from top to bottom. Use a vertical layout for:
- Scanned document pages
- Receipts and invoices
- Class notes and handwritten pages
- Multi-page screenshots
- Long conversations or chat screenshots
Horizontal Merge
A horizontal merge places images side by side in a single row. It works well when you want to compare images or display them together without stacking them. A horizontal layout is ideal for:
- Before-and-after comparisons
- Product comparisons
- Design mockups
- Side-by-side photo comparisons
- Image presentations and visual references
Choosing the right layout before merging helps create a cleaner, more organized image that’s easier to share, present, or save.
Common Uses for Merging JPG Images
Merging JPG images into one file is useful in many everyday situations. Instead of sending or storing multiple images, you can combine them into a single JPG that’s easier to view, organize, and share.
- Scanned Documents: Combine multiple scanned pages into one image to keep contracts, forms, receipts, or other documents together.
- Screenshots: Merge several screenshots into one long image to show a complete conversation, tutorial, or step-by-step process without breaking the flow.
- Business Reports: Join invoices, receipts, expense records, or report pages into a single image for quick sharing with clients or team members.
- Product Images: Place multiple product photos in one image to highlight different angles, colors, or features. This works well for online stores, catalogs, and presentations.
- School Assignments: Students can merge handwritten notes, diagrams, or assignment pages into one JPG before submitting or sharing their work.
- Before-and-After Photos: Show changes clearly by placing two images side by side. This layout is popular for renovations, fitness progress, photo editing, and design projects.
- Travel Photo Collections: Combine your favorite vacation pictures into one image to create a simple photo collage that’s easy to share with friends and family.
- Real Estate Listings: Merge multiple property photos into one image to give buyers a quick overview of different rooms, outdoor spaces, or property features.
- Design Presentations: Designers can combine mockups, wireframes, branding concepts, or visual references into one JPG for client reviews and team discussions.
Conclusion
Now you know how to merge JPG files into one image online quickly and easily. The process only takes a few minutes. Open the Merge JPG tool and upload your JPG files, choose a vertical or horizontal layout, merge the images, and download the final JPG. There’s no need to install software or deal with complicated editing tools.
Whether you’re combining scanned documents, screenshots, product photos, or other images, merging them into one JPG makes them easier to organize, share, and store. Use an online JPG merger whenever you need to combine multiple images into a single high-quality file without losing quality or wasting time.