Creating before and after comparison images is one of the easiest ways to show changes, progress, or results in a clear and visually appealing format. Whether you’re highlighting a home renovation, fitness transformation, photo edit, product upgrade, or cleaning project, placing two images side by side helps viewers instantly see the difference.
Instead of sharing separate photos, a single comparison image tells a more compelling story and is easier to use on websites, blogs, presentations, and social media. The best part is that you don’t need advanced editing software or design experience to create one.
In this guide, you’ll learn what before and after comparison images are, why they’re effective, and how to make professional-looking comparison images online quickly while maintaining image quality and creating a clean, organized layout.
Table of Contents
What Are Before and After Comparison Images and Why Are They Important?
Before and after comparison images combine two photos into a single layout to show a clear visual change. The before image shows the original condition, while the after image highlights the final result. Displaying them side by side makes it easy for viewers to compare differences instantly without switching between separate photos.
These comparison images are popular because they communicate results quickly and effectively. Whether you’re showcasing a home renovation, fitness transformation, photo edit, product upgrade, or cleaning project, a before and after comparison image tells a visual story that words alone cannot. They are widely used on websites, blogs, case studies, presentations, and social media to capture attention, build credibility, and make changes easier to understand.
Tips to Create an Effective Before and After Image
An effective before-and-after image should make the transformation clear, natural, and easy to understand. Simply placing two photos together isn’t always enough. Details such as camera angle, lighting, image quality, image size, and layout all play an important role in creating a professional and believable comparison.
Using photos with the same dimensions, consistent lighting, matching angles, and high resolution helps viewers focus on the actual changes instead of distractions caused by different image sizes or perspectives.
By following a few simple best practices, you can create before and after comparison images that are visually balanced, easy to compare, and more impactful across websites, blogs, presentations, and social media.
How to Make Before and After Comparison Images Online
Follow these steps to create a professional-looking comparison image in just a few minutes.
- Open the Merge JPG Tool: Open the “Merge JPG” tool in your web browser.
- Upload Your Photos: Click “Select JPG Files” or drag and drop your before-and-after images into the tool.
- Choose a Layout: Select “Horizontal” to place the images side by side or “Vertical” to stack them one above the other.
- Merge the Images: Click “Merge Images” to combine both photos into a single comparison image while maintaining image quality.
- Download the Final Image: Preview the result, then click “Download JPG” to save it. You can also download the image in PNG, WebP, or PDF format if needed.
Where Can You Use Before and After Comparison Images?
Before and after comparison images help highlight changes, improvements, or project results clearly and engagingly. They make it easy for viewers to compare two versions of the same subject and quickly understand the transformation. Here are some of the most common places where you can use them:
Websites and Landing Pages
Before and after images are commonly used on websites to showcase project results, product improvements, or service outcomes. They help visitors quickly understand the value of what you’re presenting and can make case studies or portfolio pages more compelling.
Social Media Posts
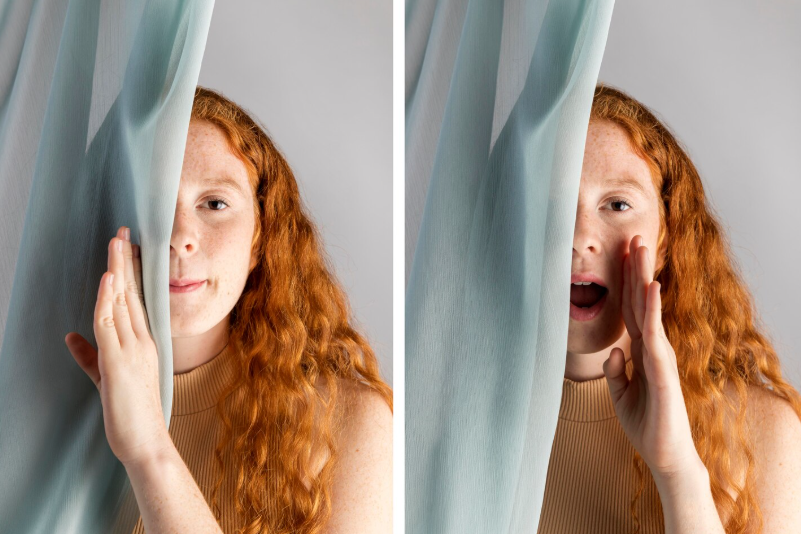
Comparison images perform well on social media because they immediately capture attention. They’re widely used to share transformations, progress updates, and success stories across platforms like Instagram, Facebook, LinkedIn, and X.
Blog Articles
Adding before and after comparison images to blog posts makes tutorials, how-to guides, and product reviews more informative. They help readers visualize the changes you’re describing and improve the overall reading experience.
Presentations and Reports
Before and after images are effective in presentations, reports, and proposals where you need to demonstrate progress or compare results. A clear visual comparison often communicates changes faster than text alone.
Portfolios and Case Studies
Professionals such as designers, photographers, contractors, and marketers use before and after comparison images to showcase completed work. They provide visual proof of results and help build trust with potential clients.
Product Listings and Marketing Materials
Businesses use comparison images to highlight product updates, restoration work, or feature improvements. Showing the original and final versions side by side helps customers understand the difference and make more informed decisions.
Conclusion
Before and after comparison images are a simple yet powerful way to showcase changes, highlight progress, and communicate results. By using high-quality photos, maintaining consistent angles and lighting, and choosing the right layout, you can create clear, professional comparison images that are easy to understand and visually engaging.
With an online image merger, creating before and after comparison images takes just a few minutes and doesn’t require any advanced editing skills. Whether you’re preparing content for a website, blog, presentation, portfolio, or social media, a well-designed comparison image helps your audience see the transformation instantly while making your content more impactful.